
If you find yourself with a cracked phone screen, don’t panic! There are steps you can take to address this issue. In this guide, we will walk you through the essential actions you should consider when your phone needs a glass replacement.

Step 1: Assess the Damage
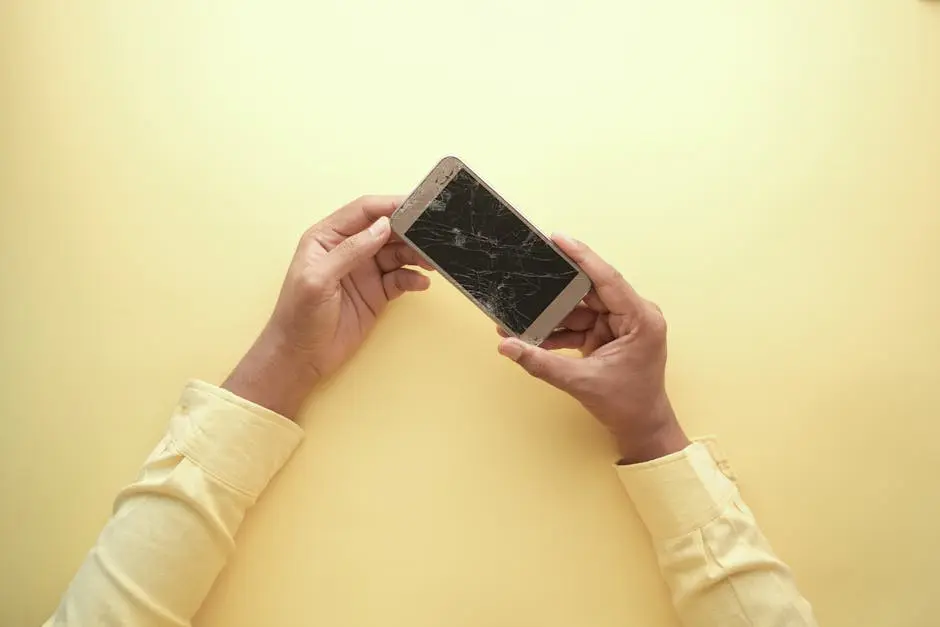
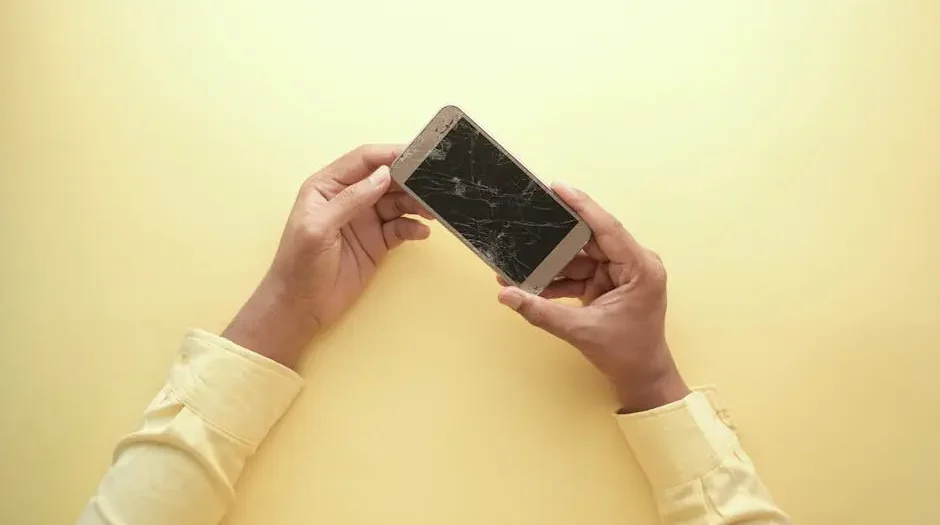
Examine your phone and determine the extent of the damage. Is it a small crack, or is the screen completely shattered? Knowing this will help you decide your next steps.
Take a close look at your screen, and don’t forget to check the frame. Sometimes, what appears as a superficial crack may lead to further issues like malfunctioning touch sensitivity or display problems.
Consider the location of the damage as well. A crack in the corner might feel less critical than one running across the center, which could interfere with your visibility and functionality.
Ultimately, understanding the damage will guide you in making informed choices, whether it’s opting for a quick fix or considering a more comprehensive repair.
Step 2: Decide Between DIY or Professional Help
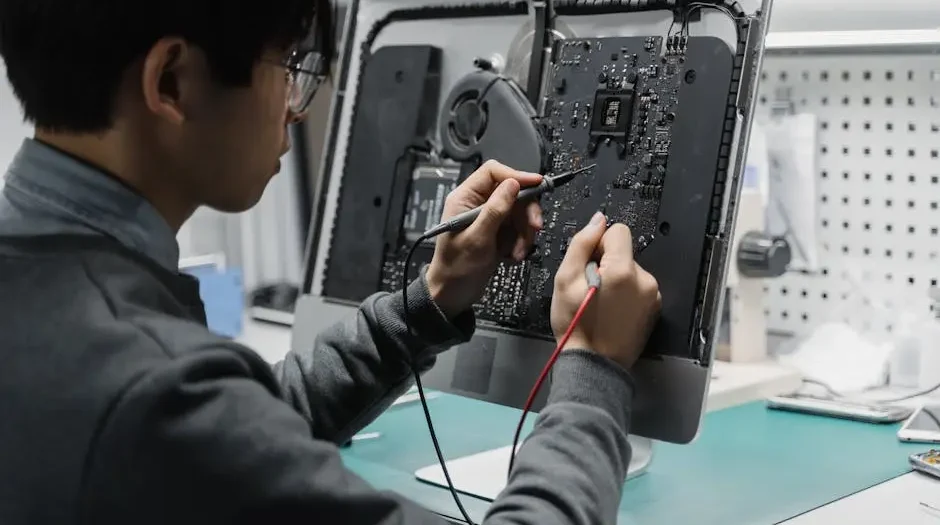
Consider whether you feel comfortable replacing the glass yourself or if it’s better to leave it to a professional. DIY repairs can save money but may require specific tools.
For those who are tech-savvy, tackling the repair yourself can be a rewarding experience. There’s plenty of online support, including forums and tutorials that can help guide you through the process.
However, if you’re not sure about your skills, it’s wise to consult a professional. Experts can ensure that the repair is done correctly without risking further damage to your device.
Ask yourself: Am I equipped to handle this? A good rule of thumb is to trust your instincts. If you’re hesitant, it might be time to reach out for professional assistance.
Step 3: Gather Necessary Supplies
If you choose to DIY, make a list of the tools and replacement glass you’ll need. Research the specific parts compatible with your phone model.
Essential tools may include a heat gun, suction cup, and precision screwdriver set. Gathering the right supplies can make a world of difference when you’re in the midst of a repair.
While it might be tempting to skimp on low-cost parts, remember that quality is essential. Investing in a good replacement glass can extend the life of your phone, so do a little research before you buy.
Be proactive and double-check availability. It’s frustrating to halfway through a repair only to find out you’re missing a crucial tool, so prepare well!
Step 4: Follow Repair Instructions Carefully
Whether you’re watching a video tutorial or following a guide, take your time to ensure every step is followed correctly to avoid further damage.
It’s easy to rush and make mistakes in the excitement of repairing your phone. However, patience is key. Each step has its importance, and skipping one could lead to complications later on.
Keep distractions to a minimum. A focused environment will help you absorb the instructions better, making your repair smoother and more effective.
Don’t hesitate to pause the video or reread instructions if you’re uncertain—there’s no rush here. Your goal is a successful repair, not a speed record!
Step 5: Test Before Reassembly
If you’ve repaired the glass yourself, power on your phone before reassembling it completely. This way, you can check if everything functions as expected.
This step is crucial to catch any potential issues early on. Check your touch screen responsiveness, camera functions, and ensure the display is clear with no flickering or dead pixels.
A successful test can save you from the headache of having to reopen the device, which may damage the new glass or the components inside.
If everything works perfectly, you can confidently move on to the final assembly. But if something isn’t right, take the time to troubleshoot before proceeding.
Step 6: Seek Warranty or Insurance Options
If your phone is still under warranty or covered by insurance, check if the damage is covered. This could save you time and money.
Warranties often have specific terms, so it’s wise to read through your documentation. Many manufacturers cover accidental damage under certain conditions, which could be a financial lifesaver.
Additionally, if you have phone insurance, reach out to your provider. They might arrange the repair at no extra cost or guide you on the most affordable repair options.
Don’t overlook the importance of these options; they can significantly reduce the burden of the repair expense and help you get back to using your device in no time.
Wrapping Up Your Glass Replacement Journey
Replacing your phone’s glass can seem daunting, but with the right approach, it’s manageable. Whether you decide to DIY or seek professional help, make sure to weigh your options carefully.


Write a comment
Your email address will not be published. All fields are required